Placing a home security camera well can make all the difference between catching a problem and missing it. Good placement reduces blind spots, lifts the deterrent effect, and makes footage more useful when you need to review events.
This article walks through practical steps and clear examples for choosing where to put cameras around a house.
Assess Entry Points
Start by mapping every plausible way someone might reach your property, including front and side doors, ground-floor windows, driveways, alley approaches, and the garage; think of the plot like a clock face and mark each slice where a person could come within camera range.
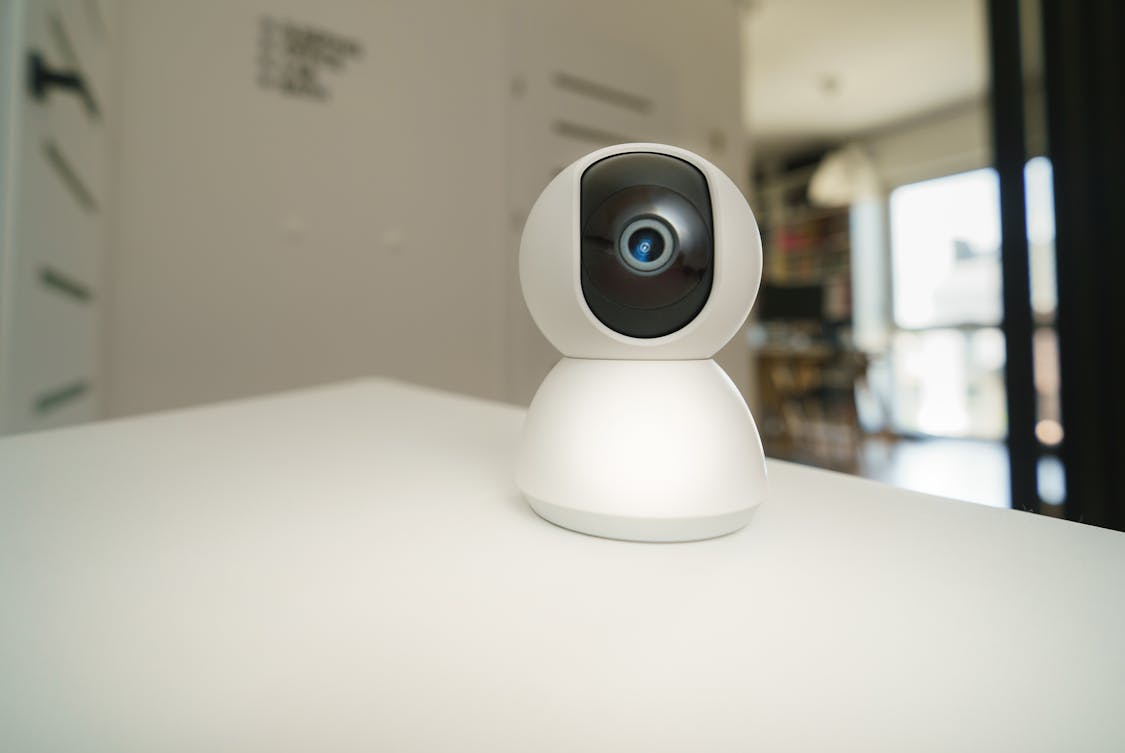
If you’re setting up your system, using a GuardHouse camera can make identifying and monitoring entry points much easier thanks to its clear imaging and reliable coverage.
Focus on paths that offer cover or a direct line to valuables, as burglars prefer quiet routes and often take the least exposed path that still gives access, so a narrow side yard or a low hedge might be more critical than the lawn.
Place cameras so they capture faces as people approach, not only backs as they walk away, which makes identification in footage far more useful for any later legal or insurance follow-up.
A clearly visible camera can discourage mischief before it starts while good framing and lighting make footage usable, so aim for a mix of overt deterrence and subtle coverage that complements locks, lights, and common-sense home habits.
Mind Camera Height And Angle
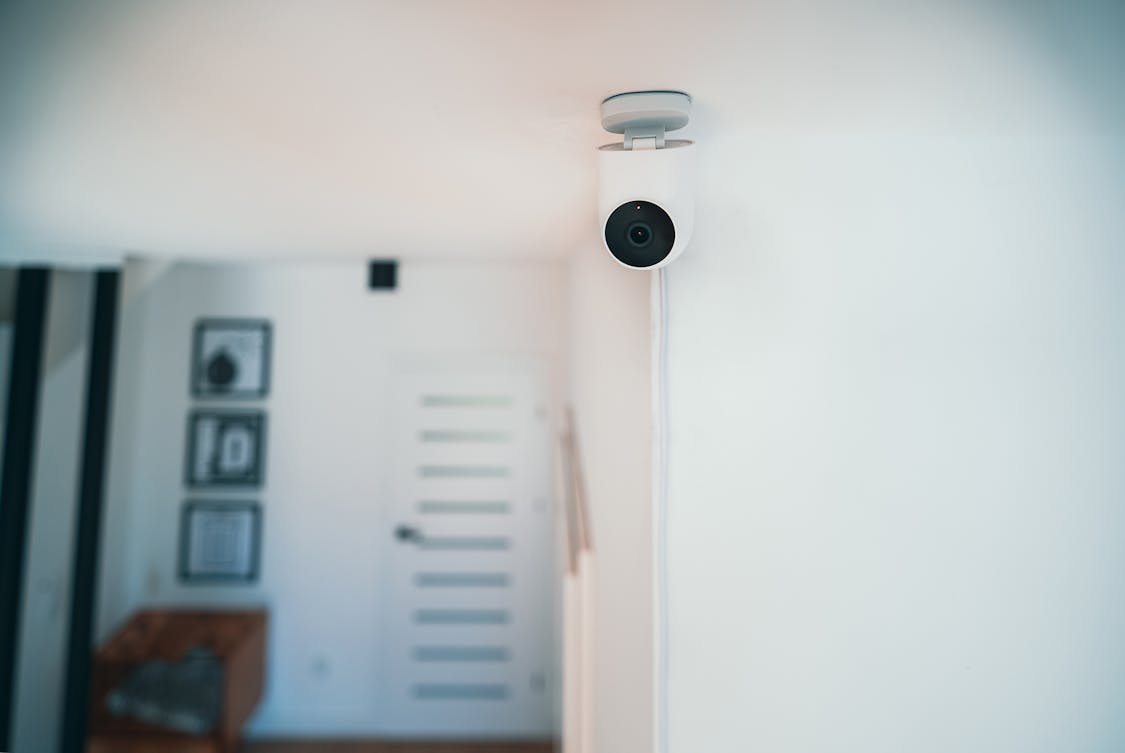
Mount cameras high enough to avoid casual tampering but low enough to pick up facial detail; a height of roughly eight to ten feet often hits that middle ground, letting a lens see faces without being reachable by a passerby with a ladder or a stick.
Tilt the lens down at a slight angle so the image keeps foreground and background in usable focus, and think about parallax and depth—objects at different distances behave differently in wide shots, which can hide small movements or create blind spots near the edges.
Wide-angle lenses supply broad coverage but introduce barrel distortion that can stretch faces and make distances hard to judge, so match lens choice and mount location to the coverage goal rather than chasing the widest possible view.
Treat the camera like a pair of eyes on a swivel: a small change in angle often reveals a whole new slice of view, so try a few test positions before final fastening.
Watch For Light And Weather
A bright backlight at dawn or dusk will wash out facial features and leave important detail in shadow, while sudden contrast from a streetlamp or reflective car hood can cause a camera’s auto-exposure to hunt and lose detail for seconds at a time.
Pick positions that avoid direct morning or evening sun hitting the lens and plan for seasonal changes in sun angle, adding hoods, shades, or a light shield when necessary to keep the scene steady across the year.
Cameras rated for outdoor service resist rain, frost, wind-driven dust, and heat far better than indoor units tucked outside, and a weatherproof housing plus proper seals will keep internal electronics dry and working through storms.
Run recording tests in bright light, low light, and wet conditions so you get a feel for how sensors, IR arrays, and auto gain respond; those short checks save long headaches later.
Hide Wiring And Mount Securely
Exposed cables are both an invitation to tamper and plain ugly, so tuck wiring into conduit, run it through attic spaces, or route it within walls when possible to keep lines safe and out of reach; a neat cable path also helps future troubleshooting when a camera balks.
Use tamper-resistant screws and mounts that fit tightly to the surface so that a quick tug won’t shift the view or break a feed, and pick anchors and fasteners that match the material—masonry anchors for brick, wood screws for timber, and self-tapping hardware for metal.
If you use wireless cameras, protect the power source and keep a battery backup ready for outages while testing how long batteries last with active motion recording to avoid surprises. Think of the mount and feed as the camera’s lifeline: solid attachment and protected power give you reliable images over months and years without constant readjustment.
Account For Motion And Activity Patterns
Watch daily rhythms for several days and map where family members, delivery people, pets, and gardeners typically move so you can set motion zones that ignore harmless activity and flag unusual patterns; a camera that cries wolf will be ignored, while a tuned sensor delivers actionable alerts.
Aim sensors and privacy masks to exclude common, harmless movement near a porch or sidewalk while keeping the driveway, doorways, and other sensitive areas monitored, and set alert schedules so the system is quiet in normal household bustle yet active when the house tends to be empty.
Adjust sensitivity, object size filters, and the hours when notifications are sent rather than letting a single setting run all the time; those tweaks reduce false positives and let you focus on real events. A bit of trial and error pays off: test alerts, look at how clips are saved, and refine rules so the camera learns what matters and what it should ignore.
Balance Field Of View And Privacy
Point cameras to capture entry points and yard approaches without sweeping into a neighbor’s window or private strip of land, and keep in mind that goodwill matters as much as the law; a single intrusive camera can create disputes that are far more trouble than the extra coverage is worth.
Where possible use built-in masking or software blocks to black out portions of the frame that cross property lines, which both keeps relations civil and reduces needless recording that eats storage space and bandwidth.
Check local rules and any community covenants as privacy expectations differ by place and you do not want footage that creates legal headaches. A camera directed with respect and restraint gives you what you need while keeping relationships intact.
Test And Adjust Regularly
After installation, run a checklist that includes image sharpness, night vision range, motion alert delivery, timestamp accuracy, and off-site backup copies so you know the system is performing as intended.
Revisit camera positions after a season or when landscaping grows or is trimmed; a sapling that was a twig the first summer can become a leafy block by the next, and a branch that brushes the lens makes for a lot of useless clips.
Keep firmware up to date to close bugs and patch security holes, rotate strong passwords on the network and devices, and check that notification channels still work with firmware or app updates. Small adjustments on a regular cadence keep the system honest: tweak angles, clean lenses, and update settings as habits change.